In this post I am sharing with you my packing tips, including what and how I pack my family for a trip (clothes, toiletries, baby gear, etc.) and my 5-step system for packing my family’s clothes. I use essentially the same method to pack for a 7 day vacation as I do for a month or longer. Using my 5-step clothing system helps me automate the packing process and feel confident that we will have what we need on our trip. I hope you find these packing tips helpful!
Luggage
Your luggage does not have to be fancy. We have some nicer gear, but we also use several less expensive items that work great.
Carryon backpacks like the Cotopaxi and Away backpack free up your hands. But we also use roller bags from less expensive brands and second-hand pieces.
Clothing
My 5 step system
It can be very frustrating to arrive at your destination with a suitcase full of clothes feeling like you have nothing to wear! My five step system for packing clothes has helped me embrace a bit of minimalism while still having everything we need and plenty of variety.
Step 1: Calculate the number of days you need to pack for.
First, I calculate the exact number of days I need to pack for. This is the maximum number of consecutive days that I will not have access to laundry, plus one day.
While I don’t pack extra options, I DO pack each of us for one extra day in case there is a hiccup in our itinerary (canceled flight, missed train, etc.). That way if something happens, I am not stressed out about finding a way to wash clothes while trying to straighten out travel logistics.
When we traveled for a month in Europe, we had laundry machines in several of the apartments we were staying in. I knew the longest we would have to go without easy access to a laundry machine was 8 days. So I packed each of us for 8 days, plus one.
If I will have access to laundry the whole time but don’t want to constantly be washing clothes, I choose a number somewhere between 7 and 10 days. If it is a shorter trip, I just pack for each day that I will be gone, plus one.
Step 2: Consider all the items you might want.
Next, I think about out all the clothes each person might want or need on the trip. I like to either keep track of these on my phone or physically gather all the items in one place. Are we going somewhere rainy? Will we want swimsuits? Will we be attending any formal events or fancy dinners? etc.
Step 3. Identify a common color palette or style and start assembling a travel wardrobe for that trip.
At this point I start laying out outfits and hone in on color palettes, styles, etc. to make sure that staples, like jackets, shoes, and pants work with multiple outfits. I like to do this in our guest bedroom so that I can leave everything out when I need to step away and can pick back up where I was when I free up. Any space where your kids won’t get into your piles will work.
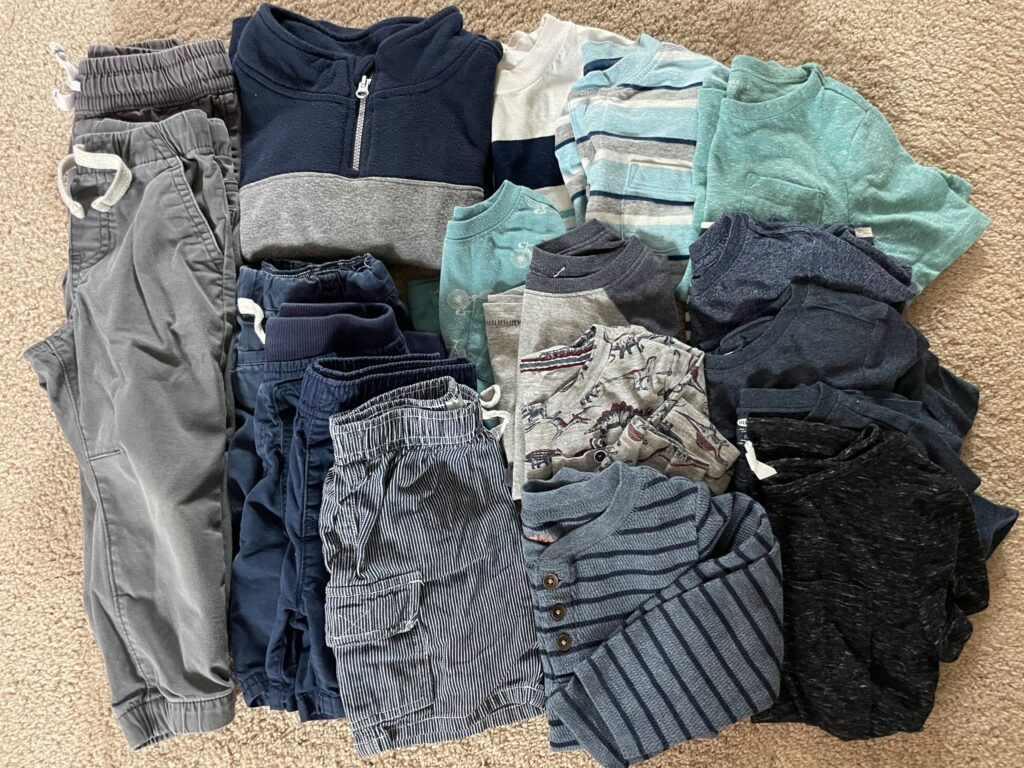
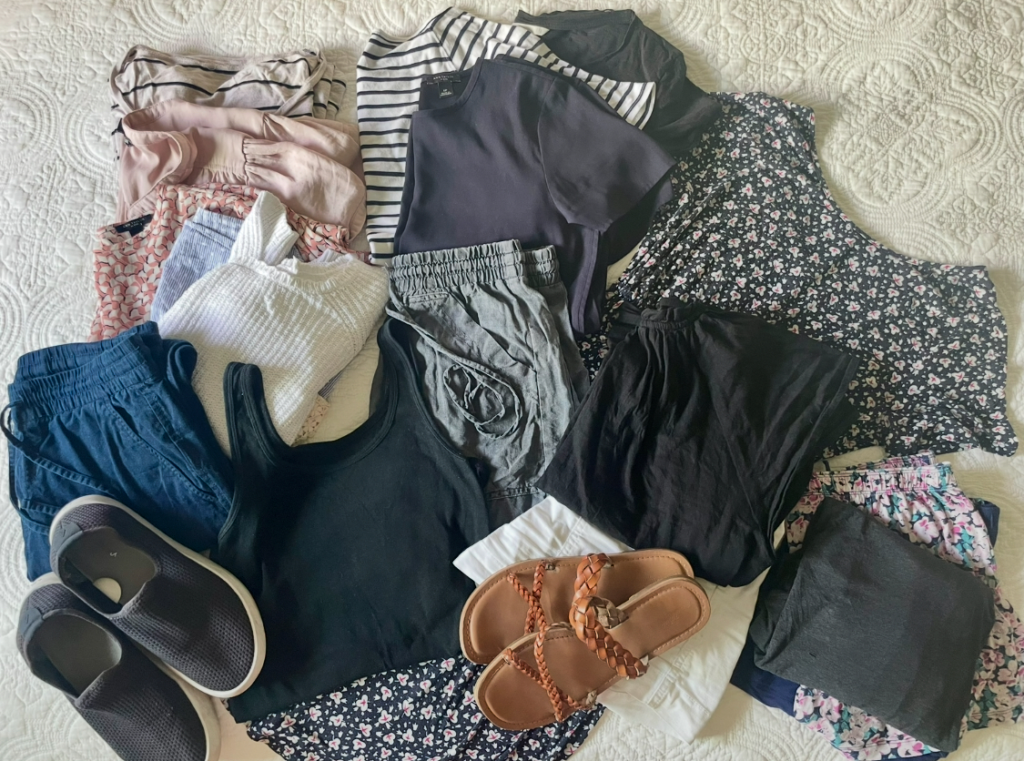
I am VERY intentional about everything I pack. I like focusing on color palettes so that items can be mixed and matched to create a variety of outfits. This keeps me from getting bored with my outfits on longer trips.
I have received some great packing tips from Alyssa Beltempo on assembling a stylish travel wardrobe for myself that I enjoy wearing. She encourages her audience to choose creativity over consumption.
Step 4. Whittle down the travel wardrobe until you have clothes for each day that you are packing for (and no more!).
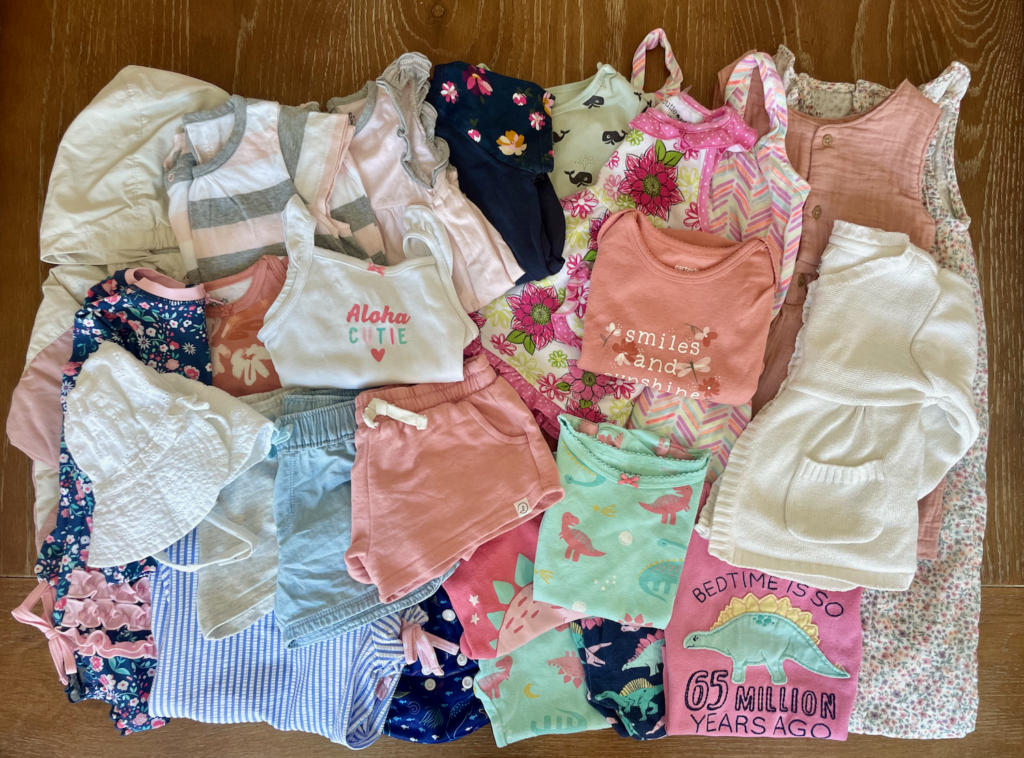
After I have the outfits that I like and will need laid out in front of me, I go through the difficult task of cutting out items. I whittle my selection down to a very compact wardrobe that consists of the exact number of outfits I actually need.
I am brutal with this step and find confidence in knowing that, unless I am going to be super remote, I can always buy something at my destination. Laundromats are usually an option as well if something comes up.
For each member of your family, the number of clothes you need per day will likely vary. For the baby you may have to pack more than one outfit per day, knowing there will be blowouts, spitup, etc. And toddlers are so messy with food. You know your family and how quickly you all go through clothes.
I no longer pack extra outfits to give myself “options”. I put in the work of picking out outfits that I am excited about before I leave home. Thanks to this effort, I don’t arrive at my destination with a suitcase full of clothes feeling like I have nothing to wear.
Step 5. Pack everything in packing cubes.
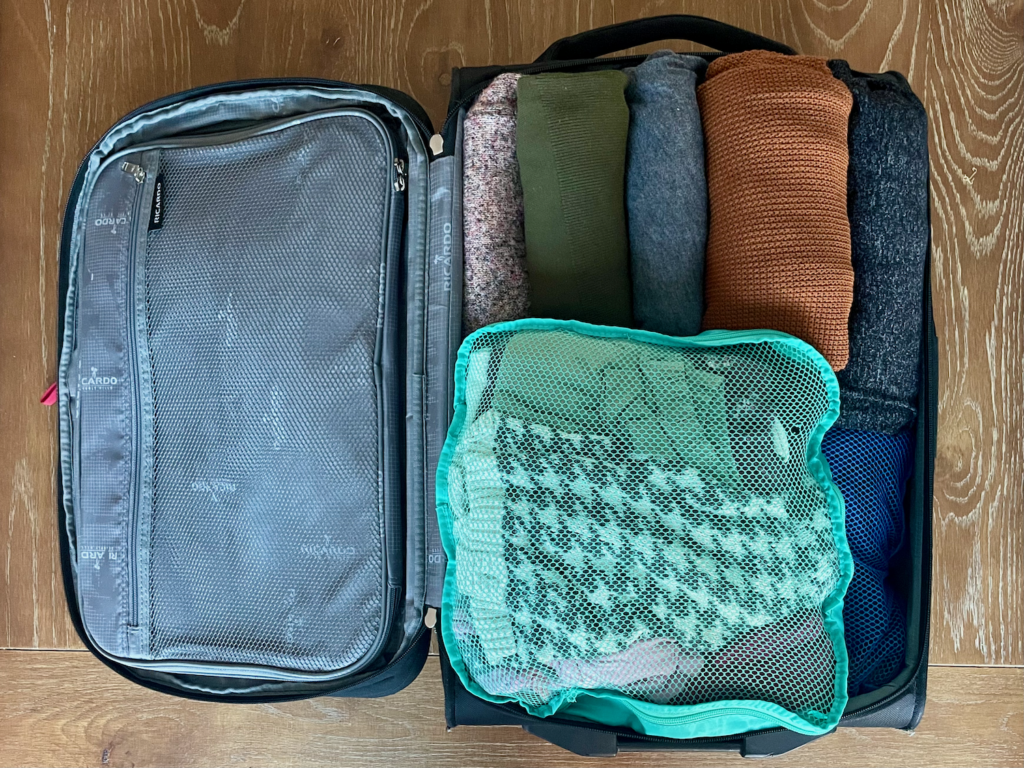
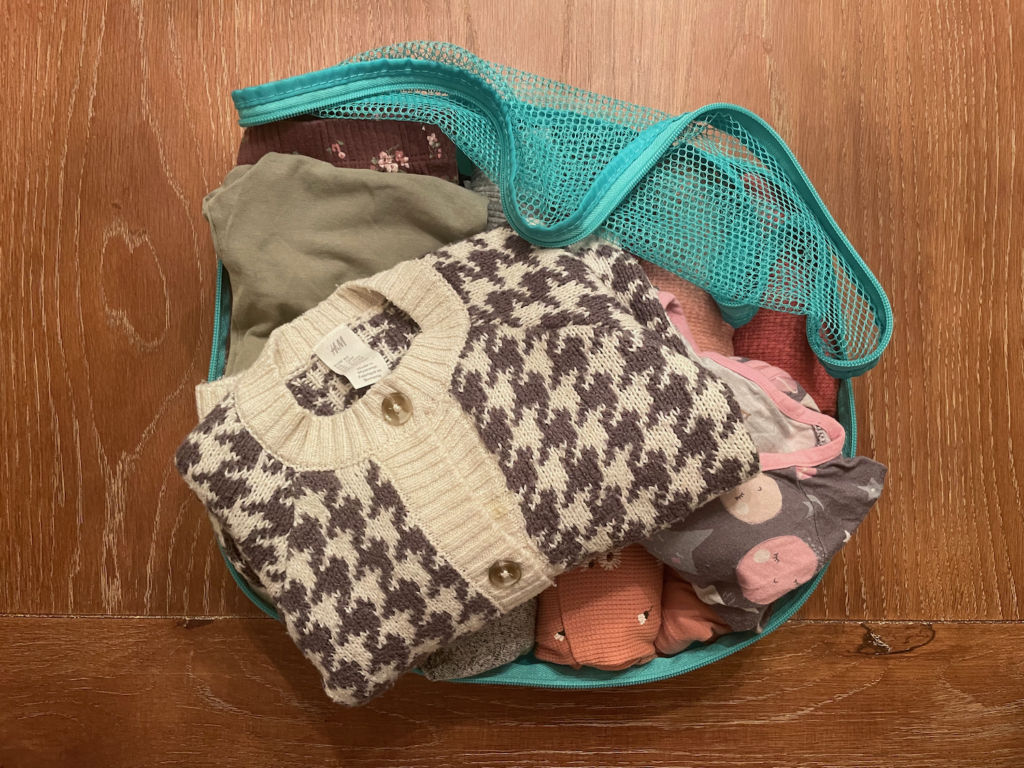
Once I have our travel wardrobes assembled, I put each person’s clothes in their own travel cube. I roll some clothes, while placing other clothes in the cube folded flat. It can be a bit of a game of Tetris.
Packing cubes keep us organized throughout the trip and make sharing suitcases so much easier. When we get to our destinations, I just put each person’s cube where they will be sleeping. This helps tremendously when we are spread out across more than one room because everyone has what they need in their own space. No more sneaking into the room with a sleeping baby to get what you need from the suitcase.
The cubes also help me remember what clothes are clean. If they are still in the cube, they are clean. Everyone’s dirty clothes just get piled into the suitcase all together.
There you have it!
I challenge you to be more intentional about what clothes you pack. Now that I have been doing this for a while, I am able to pack myself and two young kids for a week or more in one carryon without feeling too limited. This allows me to travel by myself with my kids (otherwise it would be too much luggage for me to carry). But it’s really all about feeling organized. So I would put the most emphasis on organization rather than how compactly you can pack. Once you get the hang of it, I bet you will wonder why you ever thought you needed to pack more.
Toiletries
When it comes to toiletries, I like to be prepared. While I still try to pack only what I need, I do try to anticipate certain needs to make my life easier and minimize stresses that may arise.
For example, I always travel with baby Tylenol. It just seems to work out that the one time I don’t pack baby Tylenol, a kid will come down with a high fever on a Saturday evening (with pharmacies potentially closed on Sundays). I like to know that I have the medicine that I am familiar with on hand. Although I have bought medicine from pharmacies in other countries, I like to avoid this and get uncomfortable taking unfamiliar medicine or medicine with ingredients listed in a language I do not understand.
We usually carry our luggage onto planes, but if I am checking any luggage, I keep my toiletries in my handbag in case our bag does not make it.
These are the toiletries that I most often pack:
- Prescriptions
- Baby motrin/tylenol (preferably a clear color to avoid staining clothes)
- Pedialyte packs
- Adult medicine (ibuprofen, etc.)
- Our favorite baby sunscreen and baby lotion because our kids have sensitive skin (we use Thinkbaby SPF 50+ Baby Mineral Sunscreen and Earth Mama Organic Baby Face Nose & Cheek Balm)
- Adult sunscreen (only if it will be a short trip, otherwise I buy it there)
- Baby Shampoo (only if it will be a short trip, otherwise I buy it there)
- Deoderant
- Razor
- Nail clippers
- Makeup (bare minimum with a real simple routine)
- Small travel hair brush and hair accessories for the girls**
- Toothbrushes, travel size toothpaste, and floss
- Travel laundry detergent sheets
- Stain remover pen or wipes
These are the items I usually plan to buy at the destination:
- Diapers and wipes (I travel with enough diapers and wipes to get me through the first 2 days)
- Shampoo/body wash if it is a longer trip
- Adult sunscreen if it is a longer trip
- Toothpaste if we need more than a small travel size tube
**A note on hair: Because we live such an on-the-go lifestyle, I try to stick with hair styles that require minimal styling and no tools (hello, ponytail). I usually bring a small hair clip, a few hair ties, a few bows for the little ones, and that is it! Hair styling tools are so bulky, and unless I am going to a formal event, this is one area I save space!
Diaper Bag
There is nothing magical about our diaper bag. In fact, one of the biggest misconceptions that I think many people have is that you need all kinds of travel specific gear to travel with kids. That is simply not true! When it comes to our diaper bag, we just have a relatively inexpensive backpack style bag that was gifted to us off Amazon. It holds a lot and has really held up well throughout its use at-home and on the road.
Diaper Bag Essentials
This is what you will usually find in our diaper bag:
- Diapers, pull-ups, and wipes – usually enough for the plane, plus a day or two extra to give us time to find some at our destination
- Diaper cream
- Portable changing pad
- Extra plastic bags for grimy clothes, dirty diapers, and unexpected sickness
- Change of clothes in a dry bag (including a new outfit for myself, because kid messes are not always contained to just the kids)
- Pocket Blanket. I love this thing. It is more like a picnic mat/tarp than a blanket. It is great for tummy time, nursing, playing, and spontaneous picnics
- Portable sound machine for sleeping on the go (we use the Yogasleep Rohm portable sound machine)
- Pacifiers
- Snacks
- Water bottles
- Disposable placemats – our kids use these on airplane tray tables, random self-serve tables that don’t seem very clean, when we know a meal will be very messy (think curry and basmati rice – both get everywhere!), and sometimes at nice restaurants when we want to be able to wrap up the mess at the end of the meal.
- Smocks – I don’t know if our kids are just messier than normal, but the cute little traditional bibs don’t do anything to keep our kids clean during meals. We use full sleeve smocks. Ikea’s KLADDIG Bib and the Tiny Twinkle Mess Proof Baby Bib on Amazon are affordable long-sleeve bibs/smocks that we use.
- A couple baby/toddler spoons (for the random yogurt snack that we purchase when out and about).
- Phone charger (and any country-specific adapters) as well as a portable phone charger for when an outlet is not available.
- First aid kit (something very simple – like bandaids, tape, a couple pieces of gauze, and a few alcohol wipes)
TOYS/BOOKS/ENTERTAINMENT
We don’t bring a lot of toys/entertainment items. Our kids don’t usually end up playing with the toys we pack and they are so bulky. We do usually allow them to have screen time on the plane and we sometimes bring a couple compact books to entertain them and read at bedtime. Depending on the trip, we may pack the following:
- Kid headphones
- Ipad
- A couple compact books – we bring ones that have the most content/entertainment time on the least amount of space.
- A few crayons and a piece of paper or two
- Refillable water drawing pad (such as the Melissa & Doug PAW Patrol Water Wow!). These are great because once the drawing dries, it fades away and they can be used over and over again.
Little tip: if you are traveling by plane with a baby or young toddler, ask a flight attendant for some plastic cups. Or save yours after drinks are served. Those cups are wonderfully entertaining! You can stack them, build a tower, or just let your little one squeeze and examine them.
Strollers and Baby Carriers
We usually bring both a stroller and a baby carrier (front pack). Strollers are so helpful when traveling with young children because they will carry your children AND your stuff. Sometimes the baby just needs a snuggle and does not want to be in the stroller, or we are visiting a place that is not stroller friendly, so the front pack is handy.
We prefer to travel with all-terrain strollers. We absolutely love Bumbelride strollers (this post/blog is not sponsored by Bumbleride). Bumbleride’s Indie Twin is AMAZING if you need a double stroller that is great for travel! All-terrain strollers are a bit heavy and not compact travel strollers that will fit in the overhead bin of an airplane, but our Bumbleride strollers get us everywhere.
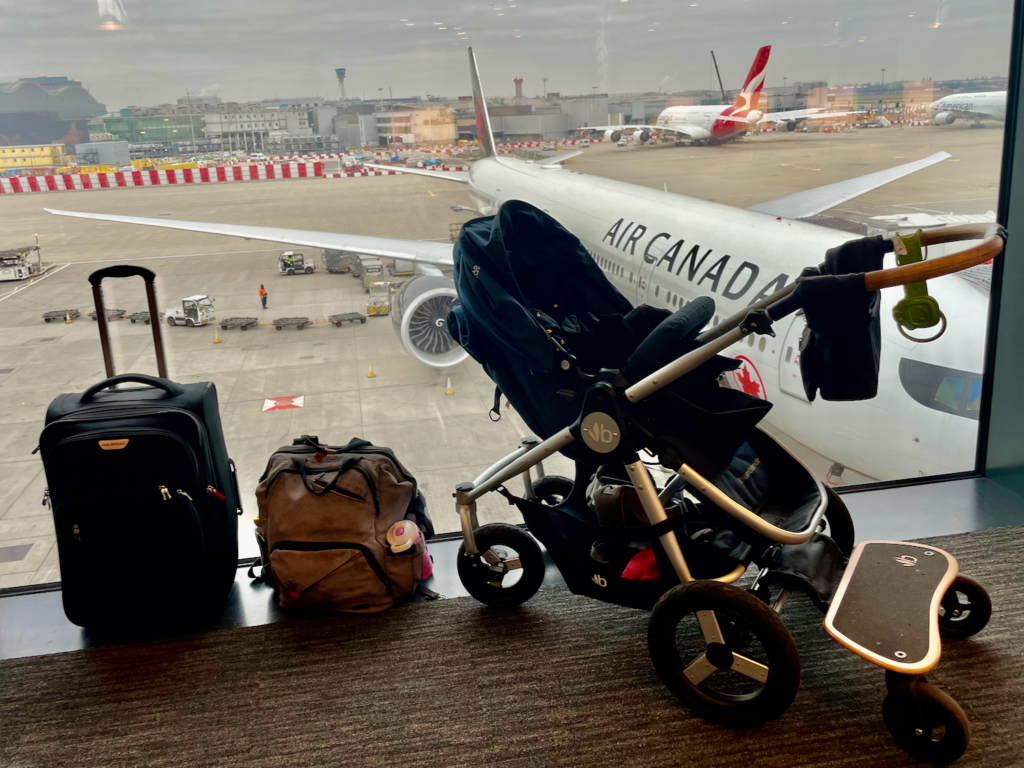
The biggest highlights of the Bumbleride’s Strollers are:
- Almost lay-flat recline, so the stroller can be used from birth through toddler years without attachments. This allows our kids to take their naps on the go!
- Impressive canopy coverage (especially the Indie and Indie Twin)
- The Indie twin is the only side-by-side all terrain stroller that I am aware of that fits through a standard single US door. This is actually a really big deal. I cannot count the number of times I have been able to slide through a doorway that other side-by-side doubles would not be able to fit through. This is especially important when traveling in Europe, where big double doors are not nearly as common.
- They will hold up to rough sidewalks and cobblestones
As an all-terrain stroller with air filled tires, our Indie Twin is a bit of a beast to gate check. But the little bit of extra effort to bag it is so worth it to have a sturdy stroller at your destination. We have taken our Bumbleride Indie twin on multiple trips to Europe. The Bulmbelride Era is a little more compact and can also be a great option for families with a couple little children when paired with the kick board accessory. The Bumbleride strollers handle cobblestones amazingly, and they glide across unpaved paths, compact sand, and icy/snowy conditions (to an extent – they are not going to plow through a foot of snow!) very well. We love that our Bumbleride strollers can go almost anywhere we want to go.
Bumbleride’s strollers are pricy, but you can find them second hand for much less than the full retail price. Ours are second hand and are holding up fabulously!
Car Seats
Does a friend or family have one you can borrow at your destination? Can you rent one through the car rental company? Can you rely exclusively on public transportation? Car seats are my LEAST favorite things to travel with – they are so bulky! I always try to find a way that I can leave them behind.
If I will need to bring a car seat, I do the following:
When my husband and I are traveling together, we like to gate check car seats. A car seat is a pretty critical item if you have determined that you need to bring one. And we have arrived at our destination to find that the car seat we checked at the check-in counter did not make it on the plane.
We did learn that a lot of airlines at many airports have car seats you can borrow while you wait for your missing car seat to arrive. But if you were planning to immediately move on to a different destination, your plans could get thrown way off if you have to wait for the airline to locate your lost carseat and deliver it to you at a later time. Gate checking seems to reduce the risk that the car seat does not make it on the plane. Although, now that I say that, I am sure one of our gate-checked items will not arrive on one of our next trips!
There are some travel-friendly car seat options out there. Many families that I know love the Cosco Kids Scenera NEXT Convertible Car Seat (relatively inexpensive and lightweight, at Walmart) and the WAYB Pico.
We may end up purchasing travel carseats, so stay tuned. But for now we just haul our every-day carseats through the airport. You can purchase straps to attach them to your carryon and backpack carriers. Those do make it a bit easier to get through the airport.
If I need to bring car seats and I am not traveling with another adult, I do sometimes have to check those at the check-in counter before going through security (it’s too much to carry!). I recommend coordinating someone (family or friend) to help get those to the check-in counter and then from baggage claim to the car.
Car rental companies often offer car seats, although you don’t always know what you will get. I will admit I was a bit sketched out by the car seat that we “strapped” our 6 month old in on our way from the Prague airport to the apartment we had rented.
I am in no hurry for my babies to grow up, but I will be ready to ditch all the carseats!
Miscellaneous Items
Depending on the destination, we sometimes also need some of these items:
- Baby monitor – I recommend you take something inexpensive that you won’t be upset about breaking
- Baby bed – Pack n Plays and the Baby Delight Snuggle Nest Bassinet/Portable Baby Bed have both worked well for us in different stages. The latter can fit in some carryons!
- Brazilian canga (a beach sarong). After living in Rio de Janeiro for a short time, I look to the Brazilians for expert tips on beach accessories. Brazilian cangas are very light-weight throws that are great to lay on and can also be worn as a sarong/cover-up. They dry super fast and don’t hold sand the way a beach towel does when laid out on the beach. Cangas also aren’t as bulky as beach towels or picnic blankets. If you haven’t made it to Brazil yet, you can find cangas online.
- Quick dry towels
- Pocket daybags (that fold up easily) – I have used these for well over a decade now. They are incredibly versatile.
- Airplane toddler beds – if your airline allows it, the FLYAWAY Kids Bed works great. It will take up a large portion of your carryon though, and even airlines that have approved this bed may have rules about which seats you can use it in, so confirm that before bringing it!
- Airplane travel pillow – our kids love the Seat to Sleep® Travel Nest. It really helps the little ones sit more comfortably in their seat and blows up to be quite large so you don’t have to worry about it slipping out from under their head like a traditional neck pillow.
When to start packing
I find that the packing process is easiest when I don’t rush it. I give myself plenty of time to work through the process described above and to round up any other essentials. This minimizes future frustrations with outfits, lugging around more stuff than I need, and forgetting crucial items.
When I start packing for family vacations depends on how long I will be gone. The longer and more varied our itinerary and the weather we will be exposed to, the longer it takes me to whittle down our travel wardrobes (step 4 under “Clothes”). I also like to give myself time to wash items, purchase any items we will need, and actually get everything zipped up in the suitcase.
For most 7+ day-long trips, that means I start packing at least one week prior to the trip. For longer stints away, sometimes I start preparing as far as a month in advance if I have the time.
I hope you found these packing tips helpful. Enjoy your next adventure!
